
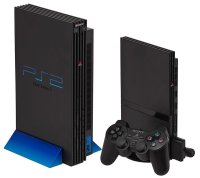
The Sony PlayStation 2 is the last generation of region locked consoles. It was the normal building specific consoles for specific regions of the world i.e. Japan, US/Canada, and everywhere else (PAL). This some what had to deal with video output, resolution, and refresh rates. But thanks to HDMI, this is no longer the norm. But back in 2005 if you were to pop in a NTSC-J PS2 video game in your NTSC-U/C PlayStation 2 console, you'd get the aptly titled "the Red Screen of Death".

This may be the case with putting the different region PS2 discs into your console, another reason you could run into this red screen is because your PS2 DVD laser is showing it's age. This is a very common problem with PS2 consoles dying, even during the release of the PS2 console it was not uncommon for the laser to die.

Adding time, age, wear and tear only adds to the increase chance your console will start showing this screen. But there is a solution, playing other region PS2 games on your PS2 console from a USB or a HDD.

While the HDD option may be preferred since the read/write speeds are faster than the built in USB 1.1 protocol, not many people have an original (phat) PS2 console or the network adapter hardware add-on.

Thankfully the slim PS2 consoles come with the network adapter port built-in, and the .hack//fragment PS2 game is not that heavy resource or demanding on data transfer speeds that would make it unplayable to play off a USB. By default your PS2 console will not read games from a USB device, but you can fix that easily with a free memory card boot PS2 memory card (here on out being referred to as FMCB). You can either purchase a premade FMCB memory card from an online retailer such as Amazon and eBay, or you can create your own.

Creating a FMCB Memory Card
We are going to start from the very beginning assuming you do not have a FMCB memory card already but own a PS2 memory card. You can skip ahead if you already have one. This step will require you to have a PS2 Slim model that does NOT begin with SCPH-90000. The model number must be less to work. If you only have a PS2 Phat model or Slim model that is model number 90000 or more, you will need to buy a pre-formatted FMCB online. (Skip to next section)
- Download FreeDVDBoot. It's only 1.3 MB in size.
- Download ImgBurn or CDBurnerXP, about 4 and 7 MB each respectively. You only need one, but if one does not work, switch to the other.
- Using only a DVD-R, sometimes DVD+R will work, burn the FreeDVDBoot onto your disc. Using 1x speed and finalize are both required.
- Insert the FreeDVDBoot disc into your PS2. This will automatically load up LaunchELF v4.43a when you turn your PS2 on.
- Download FreeMCBoot "newbie pack" from PS2-Home.com
- Make sure your USB flash memory is formatted in FAT or FAT32, this will not work on any other format i.e. exFAT, NTFS, etc...
- Extract the files onto your computer, then move the contents of the folder onto your USB flash memory drive.
- Insert the USB flash memory device into the USB1.0 ports on the front of the PS2.
- With the PS2 still on and loaded with FreeDVDBoot showing LaunchELF, press O, then move down to mass:/ and press O.
- You are now on the USB, locate where you copied over the FreeMCBoot files to, and locate file FMCBInstaller.elf and press O.
- You'll be taken to a main menu for the FMCB installer, press R1 twice to Format MC. Choose the slot you have the memory card plugged in.
- When it says Format Complete, navigate back to the main menu of this installer, and click on Install and choose which memory card spot.
- Now you can install FMCB for just this console only i.e. Normal, or you can do Cross-Regional for all PS2's of this model i.e. NTSC and PAL, or you can choose Cross-model to install it for all your region's versions i.e. Phat and Slim. (I'd recommend Normal or Cross-model) Wait for install to complete and quit this program.
- Remove the DVD and toss it, you will never need it again unless you accidentally format your memory card.
Loading and Launching Games onto USB
You now have FreeMcBoot version 1.9xx, you will only ever need your memory card and you'll never have to install anything again. On any 4+ GB USB formatted in FAT or FAT32, create a new folder on the root of your USB named DVD and a second new folder named CD. Most clear bottom PS2 discs are DVD's, and most blue colored PS2 discs are CD's.

First, be sure to connect your ethernet cable to the back of your PS2.
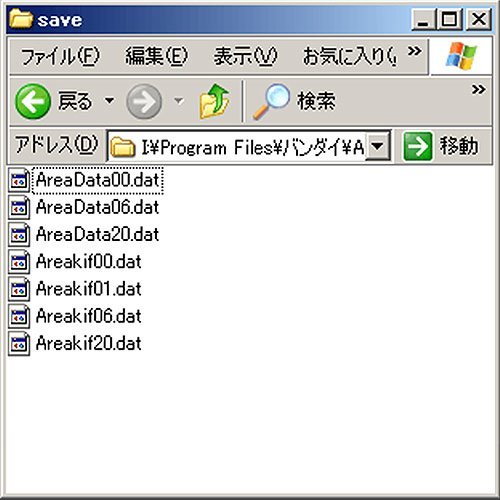
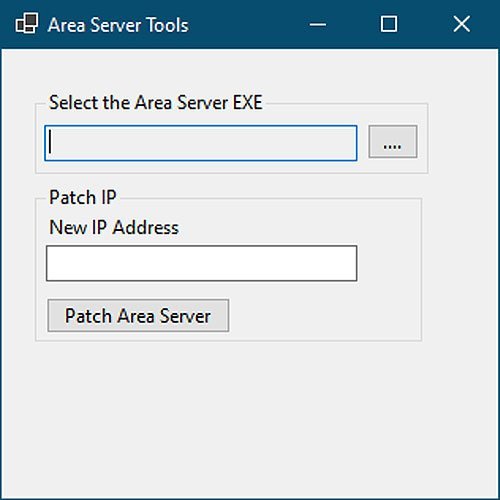
- After you've patched the game with Telipatcher, move the new ISO file into the \DVD\ directory on your USB that was formatted as FAT or FAT32. You may need to download OPL Manager to get the game to load correctly.
- Plug in your USB into your PS2 console, make sure your FMCB memory card is plugged in, remove any discs from your PS2, turn on the PS2.
-
Once FMCB is loaded, move down to Open PS2 Loader.

- At the top, choose Settings.
- Use the D-Pad and go down to "Check USB Game Fragmentation", press X, use the D-Pad and press Up to set to On then press X.
- Move down to "USB Device Start Mode" press X, move up to On, then press X.
- Move down to "Default Menu", press X, press Up till you see USB Games, press X, go down to OK and press X.
- Scroll down to Save Changes, press X to save. It should say Settings saved to mc0:
- Press O to open up the Games List, in the future you shouldn't have to do this as the default will now land on the USB Games upon loading this program now.
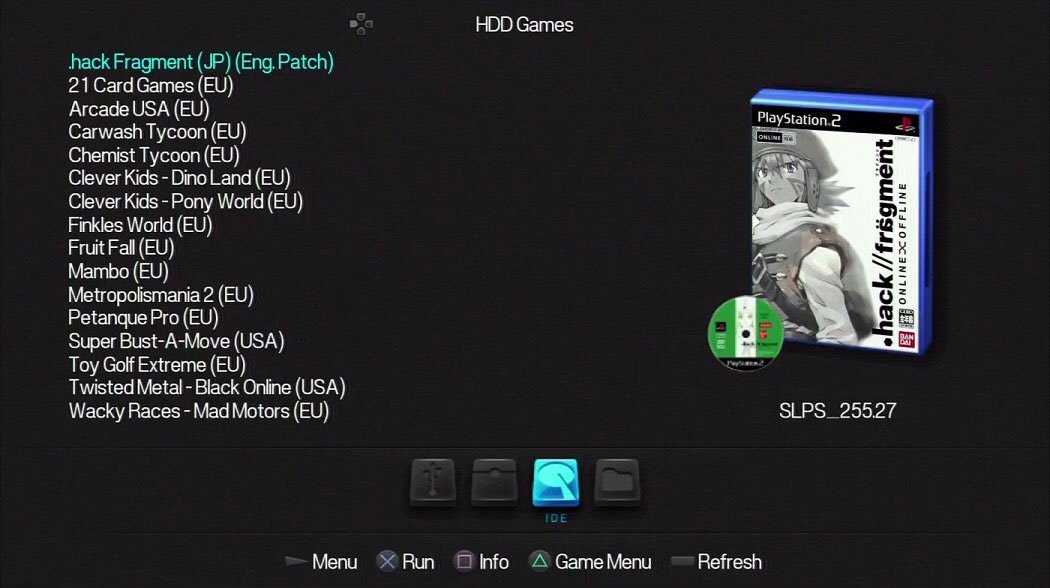
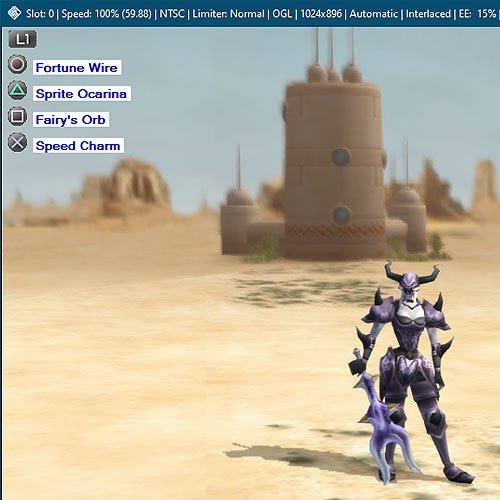
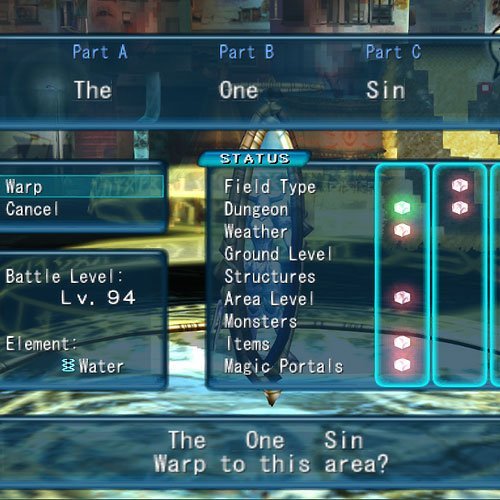
Press X and the game will start loading no different than if it were running from the disc. Though you may notice some longer load times in between scenes. But the actual game play is mostly unaffected.
Congrats, you have successfully patched the game and now launched the game. All that's left is to configure your network settings and save it to your memory card, which we will cover in the guide Setting Up Network Config Memory Card Save.


Recommended Comments