
PCSX2 version 2.2 & 2.0 stable and 1.7 nightly of the PS2 emulator for Windows 10 & 11, Linux, and Mac. This version is 64-bit only and only works for Windows 10 and 11, it will not work for Windows 7 or 8. If you have Windows 7 or 8.1, check out PCSX2 1.6.0 and our guide for that version. Unlike previous versions of PCSX2, there are no plugins this time, everything is being built-in from the ground up. Making setup a whole lot easier and faster.
Go to the PCSX2 downloads page and on the right click on Latest Nightly. A menu will popup showing you three sections for Windows, Linux, and Mac options. Choose the X64 Qt of your PC, download the ZIP file and then extract it. For Windows users, launch the pcsx2-qtx64.exe file. Now you will see the PCSX2 Startup Wizard.

Hit Next to continue.

On the next page, you'll see the BIOS selector. But you do not have any BIOS files in your bios directory. You can acquire a BIOS legitimately by copying over yours from your Playstation 2 console. You can download a BIOS dumper from PCSX2's setup guide. Otherwise if you choose to acquire one through other means, we will not be providing links or how to acquire them. After you've acquired your BIOS files, click on the Open in Explorer button and copy/paste your BIOS files to this directory.

Hit Refresh List and your BIOS should appear, now hit Next to continue.

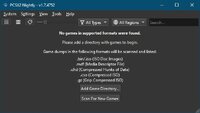
On this screen, you can assign which folders you want PCSX2 to look for game rom files on your PC. Not required but you can do it now or later. Hit Next to continue.
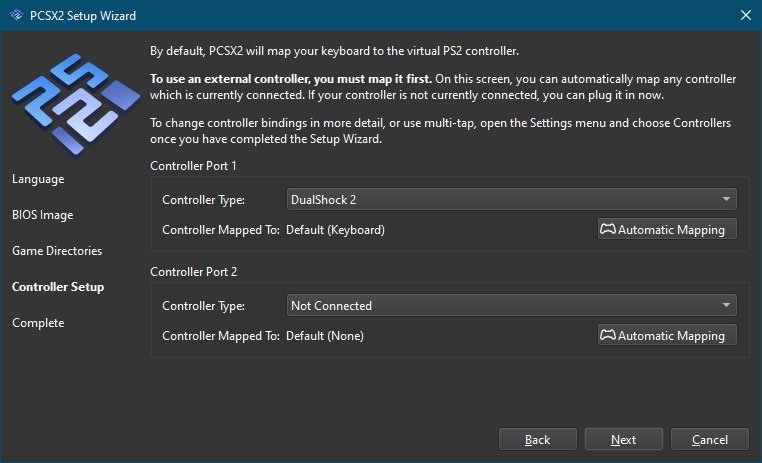
This is the controller setup screen where you can connect a controller via USB cable now and map out the controller to a PS2 controller. You can use PS3, PS4, PS5 controllers and even Xbox 360, Xbox One, and Xbox Series controllers. Be sure to hit Automatic Mapping to auto configure whatever controller you have plugged in. Also, you can use your controller wireless, albeit some extra steps involved.

After that, setup is now complete! Hit Finish to continue.
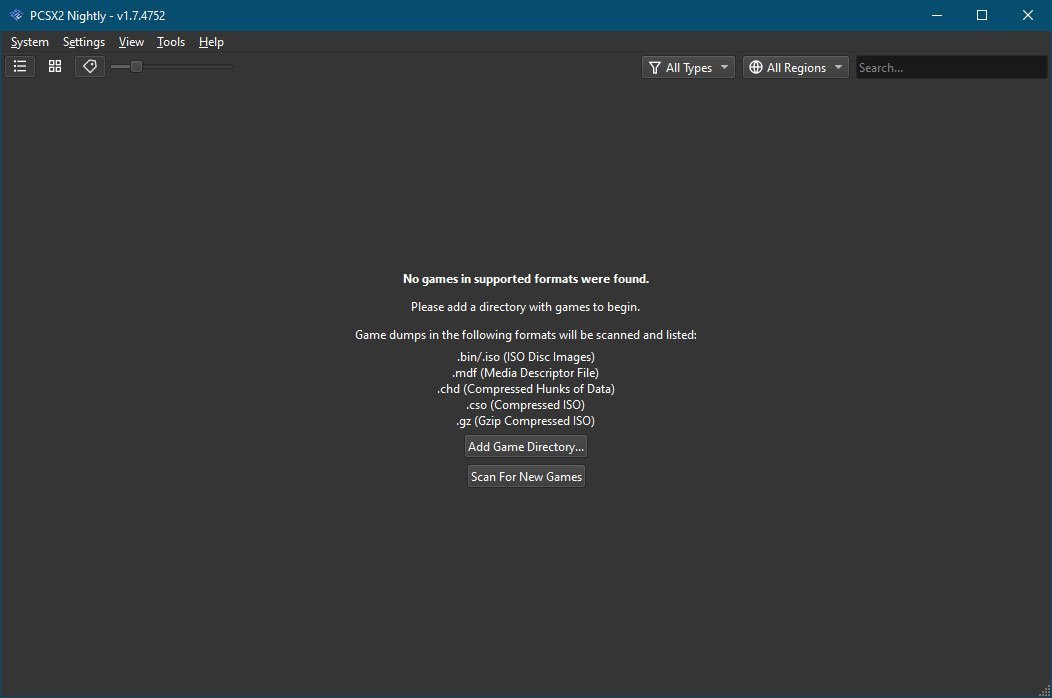
This is now the main interface for PCSX2
The first thing you'll want to do is setup your network adapter by going go System then Network & HDD.

By default, everything should be disabled.

We'll need to turn it on by check yes to Enabled under the Ethernet section.
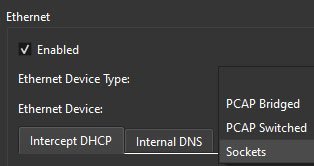
By default for Ethernet Device Type, you may only have the option to choose Sockets (or Winsock), use this option before anything else preferably. If you do not have sockets or anything at all from this drop menu, you can install Npcap Installer from https://npcap.com/#download as an alternative.
Then come back to this screen and you should have the options for PCAP Switched and PCAP Bridged, choose PCAP Switched. Reminder, this is an alternative option if you do not have Sockets or Winsock, always use those first. Never ever use PCAP Bridged, it will shut down all other internet programs and browsers.

The next line is Ethernet Device, you can choose Auto however if your computer is hooked up to the internet though wi-fi and ethernet, you may want to manually choose one. Steamdeck users may want to manually select wlan0 for their ethernet device.
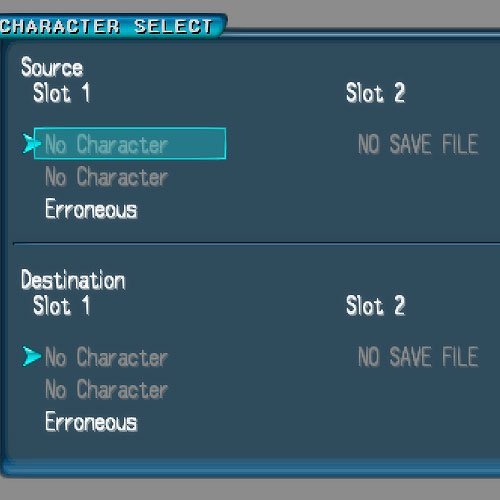
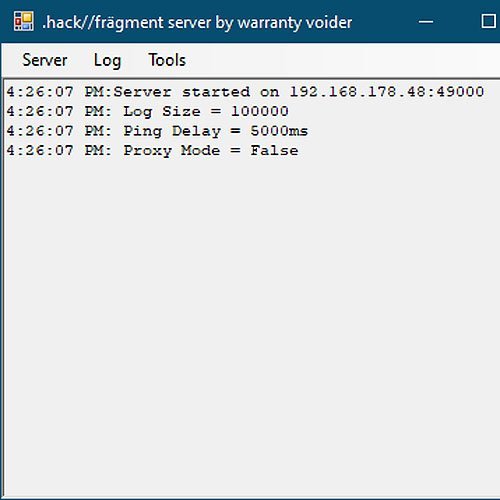
The other options for Intercept DHCP should be left unchecked. You should never have to change PS2 IP Address, that is unless you have two or more PC's running .hack//fragment at the same time, you can check Intercept DHCP and type in manually an IP for each PCSX2 running .hack//fragment on your home network, be sure each LAN IP is not being used by anything else on your home network, that also means the LAN IP from the PC you are playing on as well.
Note: Linux/Mac users (does not apply for Windows users) may need to modify for DNS1 Address, enter 67.222.156.250
Hit Close and let's move on.
If you decided to pick a directory for your PS2 games and .hack//fragment is on the list already, you can just launch the game from there.

Otherwise, you can also start the game by going to System then Start File... to launch .hack//fragment manually after you have patched the game.
Congrats, you have successfully patched the game and now launched the game. All that's left is to configure your network settings and save it to your memory card, which we will cover in the guide Setting Up Network Config Memory Card Save.
By default, PCSX2 is set to run in "Fast Boot" for the BIOS, if by chance you have troubles in the Setting Up Network Config Memory Card Save portion being all in Japanese even though you did the patching process, you can disable it by going into Settings then BIOS. To return it to the Full Boot mode.

Under the Options and Patches section, uncheck the Fast Boot checkbox.

Now we'll cover how to enable your keyboard to type in-game.

First go into Settings then Controllers.

Choose USB Port 1 on the left.

Under the USB Port 1 on the main portion, click the drop menu that says Not Connected and choose HID Keyboard.

Over on the far right, click on Automatic Mapping and immediately below it some options will appear. Choose Keyboard (Keyboard) from this option and hit Close at the bottom.


Recommended Comments